Showing posts with label Elizabeth. Show all posts

Things to do with Liberty Wool Print!

I've always loved Liberty Wool...what's not to love? Squishy, soft, machine-washable, and the perfect gauge, it suits me completely. As soon as the first Liberty collection came out in fall of 2010, I cast on for the Elizabeth sweater ("the Magic Sweater" as we called it around the office), but made it in a solid color. As a knitter that tends to shy away from bright colors, Liberty Wool Print took a little longer to embrace, but the compulsion hit me hard.

As soon as this week's free pattern was completed, Meg and I both cast on the Splash of Color cowl, one in each new colorway (12 new colors are being released this spring as part of our retailer subscription program). Meg's is in Berry Brambles, mine is in Golden Pagoda. The colors are bright, but what a great way to add an accent color to your outfit.


If you love cowls, this pattern from Kelly J. Knits, the Key to Warmth Cowl, knit here in Liberty Wool Solids and Prints, is brilliant.


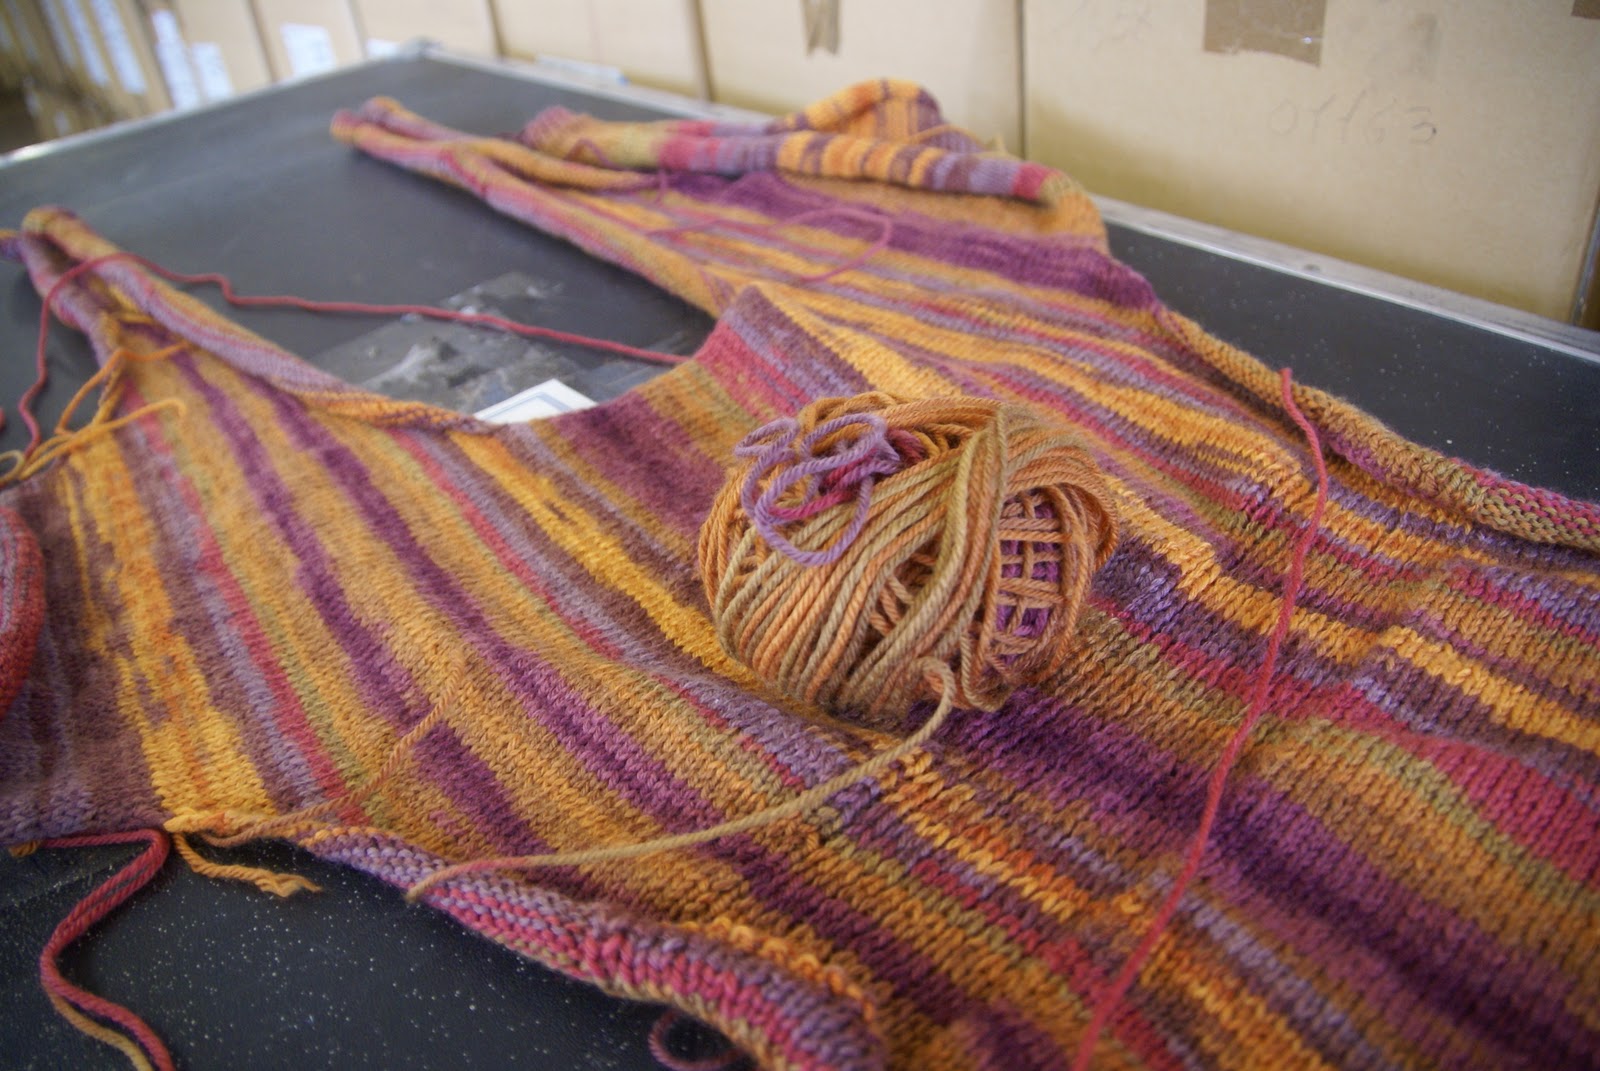
We also dressed up our office with Liberty Wool Print. Machine-knit, the installation is 60' total length in 20 colors of Liberty Wool Print...overall 8900 yards and 8 pounds of wool with 73 color changes!

Putting the Liberty "knitdown" on foam core for our office decoration.

Finished! All 60 feet of it!
Downtown Knits in North Carolina has another beautiful display idea using the Molly scarf, one of our best selling patterns. Owner Michele Riggs knit one ball of each color into a scarf, and as new colors are released, she just adds a little more to it.


Betsy, the owner of Classic Elite Yarns, knit up a Log Cabin blanket (with the help of the Mason Dixon ladies) in multiple solid and print colorways of Liberty Wool.


Hub Mills Store here in N. Billerica knit up a chair cushion in each color to soften up the chairs for Knit Night. You also catch a glimpse of the Aldred scarf over the chair, an independent design that uses Liberty Print's color variegation very cleverly.


How do you use your Liberty Print?

Elizabeth Revisited


I know we've been over this, but remember the Elizabeth cardigan? We dubbed it the "Magic Sweater" because it looked good on so many people. By the way, this sample size is small, and is the same sweater featured on the model above.


This is one of my favorite sweaters in my collection of handknits. The deep 1x1 ribbed collar folds over just so, and the machine-washable Liberty Wool is soft, squishy and springy. The slipped rib waistband hugs my waist and keeps the silhouette feminine and tailored, while still cozy. Mine is knit in a solid, #7850 Gold.


Though, to truly let this garment live up to its potential, one should take advantage of the color shifts in the wildly popular Liberty Wool Print, available in 15 distinct colorways.


If this post inspired you, you can buy the pattern on Patternfish as part of their 10,000th Design Competition. While you're there, will you vote for us?

Happy I Love Yarn Day!


While we love yarn everyday here at CEY HQ, this is a day when we should all celebrate our craft. The Craft Yarn Council has designated October 14 as I Love Yarn Day! How are you celebrating today? By casting on a new project? By finishing up that basket of WIP's next to the sofa? Maybe by buying that special skein you've had your eye on? Here on the CEY blog, we thought we'd share what's on our needles in celebration of this day. Let us know in the comments or on our Facebook page what you're working on today!

We have two projects in Liberty around the office. I just finished up this Aran Baby Pullover in #7850, a rich gold color. This is leftover yarn from my Elizabeth cardigan from last year...


Speaking of the "Magic Sweater", Meg is working on her Elizabeth sweater in Liberty Print, color #7897, Sunrise. The twisted stitches on the cuff are an inspired choice, twisted rib is so much neater than 1x1 rib. Aren't the colors perfect for Fall?


Cheryl, aka Snuzy, is on her 19th and 20th sweaters of the year and just completed Arabesque in Pirouette. She is also polishing up her Nikko cardigan in Portland Tweed and Twinings from Twist Collective in Magnolia.


Tonia just completed her Abstract shawl. It is SO soft and elegant in Magnolia in the Granite colorway.


I have many things in the pipeline for Fall! This box of yarn under my desk is destined for great things:

  • Black Princess: another Elizabeth of my own.
  • Silver Princess: Tonia Barry's Element cardigan
  • Moorland: a slouchy, comfy, oversized Grandpa cardigan--pattern improvised, but loosely based on Jared Flood's Redhook Vest.


There are also quite a few Highland Flings around the office. What do you think of this little be-bobbled garter stitch shawl? I've heard it's quite fun to knit...

k1-b/r Increase


So I cast on for the beautiful Elizabeth cardigan (or Magic Sweater, as we've been calling it around the office) just the other night, and I couldn't be happier with the yarn and the pattern so far...


I got home, indulged myself in a delicious beer and got to knitting. It is worked from right cuff to left cuff, so you cast on anywhere between 41 and 47 stitches to start. Okay, one by one rib, that's easy enough. Then I got to the point where I begin increasing and noticed a notation I wasn't familiar with--k1-b/r. Huh? A flip to the back page of the book brought me to the Abbreviations section where that increase is explained this way:

Slightly twist work on LH needle towards you so that WS of work is visible. Insert RH needle from top down into next stitch on LH needle one row below. Knit this st then knit st of LH needle (1 st increased).

I was a little baffled by this, so went to the Stitches section of the Classic Elite website, a page with photo tutorials of a wide range of techniques, from cabling to crochet and embroidery stitches to casting on. You'll find many of the techniques used in our patterns explained here, so when in doubt, refer to this page. The increase was explained a little more articulately and the question I was asking myself, "Why not just use a m1 increase?" was answered.

This is the abbreviation that we came up with to describe my favorite way to increase stitches without leaving a hole. It is worked by knitting into the stitch in the row below the next stitch on the needle and then knitting the stitch on the needle. Because you are knitting into a stitch and not pulling up a strand, as in a m1, the new stitch does not disrupt the tension of the previous row nearly as significantly. This increase is very easy to work and the new stitch fits in neatly and snuggly with the ones surrounding it.

Another thing that I love about this increase, when you work two k1-b/r next to each other, specifically when working raglan shaping, a neat straight line of slightly raised stitches is formed.

The pictures, though they were extremely useful, still didn't cement the deal for me and I found myself wishing for a video.

So I decided to make one! If you can excuse the absence of a manicure and questionable resolution of my digital camera, I hope you find it helpful. Let us know if you like to see techniques explained here on the blog!